inspiration
From sketching to creating the illustrations, learn the process of creating your own Illustration Kit.
Since the introduction of Illustration Kits, also referred to as kit-based illustrations, we've been captivated by how our contributors push the boundaries, exploring uncharted territories of creativity. These kits have truly become a canvas of innovation, enabling users to mix, match, and shuffle elements—from scenes and objects to characters—revealing countless possibilities for customization.
What makes this even more fascinating is understanding that each element in your illustration has been thoughtfully crafted and positioned by a creative mind. Impro Studio, one of our esteemed contributors, has played a pivotal role in contributing to the Illustration Kit. We reached out to them to learn about their creative process in developing these kits.
Without further delay, let's dive into the process behind creating an Illustration Kit, exploring the journey from the initial idea to the final product.
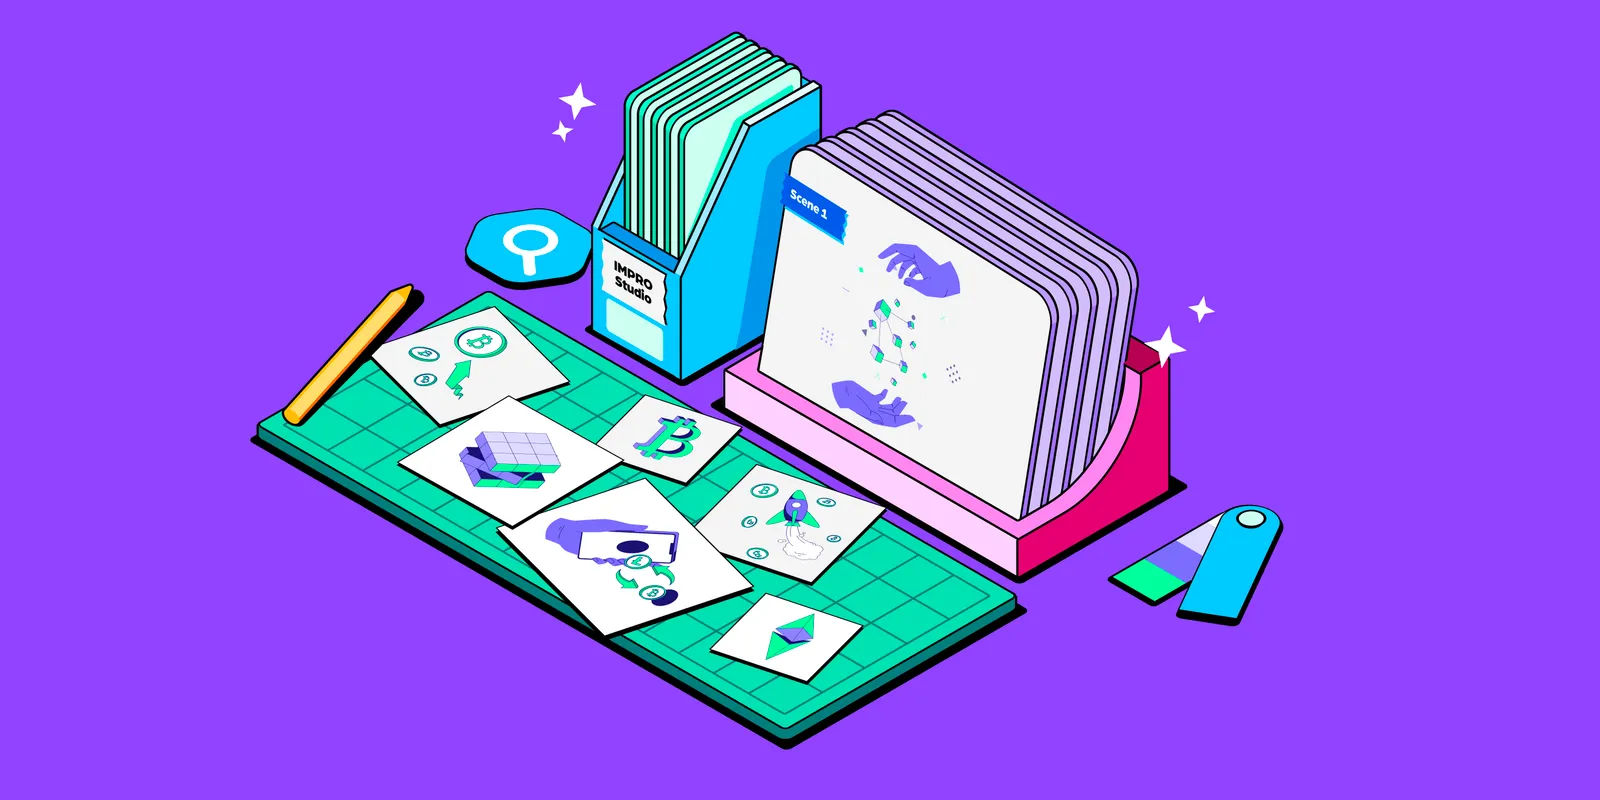
The first step in our journey involves collaborating closely with the IconScout team to understand the vision. After receiving a brief about the topic and illustration style, we typically begin by determining the illustration scene(s). This includes deciding how many scenes there will be and the number of objects used in each one. This step helps us lay the groundwork of what symbols will be used in each scene to create a cohesive and impactful visual narrative.
With the scenes outlined, we move to sketching. This stage is about exploring shapes and forms, sketching rough outlines of what will become the final symbols. Scenes and symbols should be kept simple but still unique.
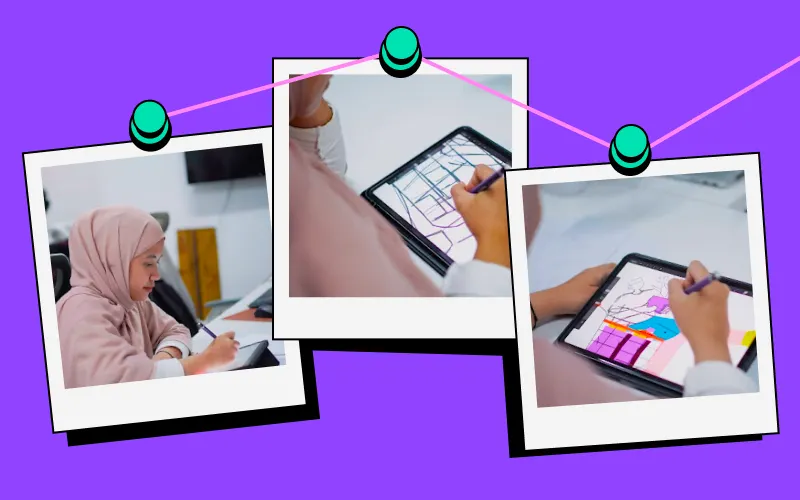

Once the sketches have been made, we list down all the symbols across scenes. The sketch helps us to visualize and document the list, plus it helps us create the vector symbols.
The vectors are broken down into four main components: head, body, legs, and supporting elements (such as plants, backgrounds, and other objects). This meticulous process ensures every symbol fits seamlessly within the larger scene.
In this stage, we begin to create the scene based on the sketches made in stage one by opening the symbol menu in Adobe Illustrator and dragging and dropping the desired symbols. These are then arranged into the scene artboard.
Adding symbols beyond the rough sketch (stage two) is allowed as long as it doesn't change the meaning of the scene.

In this stage, we will send the scene and symbol/variant to IconScout for review.
If the scene and symbol are approved and there are no revisions, we must group each symbol variant (only 1 group per symbol variant, and no nested groups).
If any symbols use clipping masks, you must convert them to compound paths.
After all symbols are finished, we will convert the variants into "symbols" within the illustration software.
If the Illustration Kit scene has been finished, the next step is to name the artboards and layers.
Once the Illustration Kit scene is fully assembled, the next step is to name the artboards and layers. Each artboard and layer should have a clear name, and there should be only 1 group for each symbol. If everything is complete, the Illustration Kit is ready to be exported to SVG format.
Before exporting to SVG, make sure the artboard is wider than the largest symbol you created to avoid any clipping.
Working on the Illustration Kit project with IconScout was a challenging but rewarding experience for us. We were new to this type of project, but we were determined to produce high-quality work that met Iconscout's standards.
The project involved many steps, from creating sketches to vectoring the symbols to arranging the scenes. We worked closely with IconScout's team to ensure that the kit met their needs. We are very happy and enjoyed working on the Illustration Kit project with IconScout. All the teams involved were incredibly communicative and supportive, truly fostering a collaborative spirit.
We are proud of the final product and are grateful for the opportunity to work with IconScout. We learned a lot from this experience, and we are confident that we can apply what we learned to future projects.
To be clear, we love all the kits we've made. However, if we had to pick a favorite, it would be the Cryptocurrency Illustration Kit. This kit is unique because it doesn't use the same symbol as the others, which is a human character. Instead, the main objects in the illustration are only the hands or/and the object symbol is the main focus.
Illustration kits will be very helpful in the future, considering the evolution of customizable illustrations. In the past, only a few illustrations on marketplace websites allowed color customizations. However, Iconscout now offers kits where you can change not only the color but also the symbol, such as the character, the plant, and more.
This will be a huge help for users with limited editing software skills, making illustration kits like those from IconScout increasingly popular in the future. This prediction is based on the phenomenon of Canva, wherein anyone can design without needing special skills, leading to its widespread popularity.
To use the illustration kit on IconScout effectively, you need to understand all the features available. This includes how to change colors, delete objects, and background colors. Once you have a basic understanding of the features, you can start experimenting and creating the illustrations you want.
If the illustrations do not match your design style, you can change the colors or shapes of the illustrations. If you are familiar with Adobe Illustrator, you can even create your own custom illustrations from the SVG files.