Tutorials
How to Turn 3D Illustrations into Lottie Animations
Enter a world of endless possibilities and turn your 3D illustrations into motion magic.
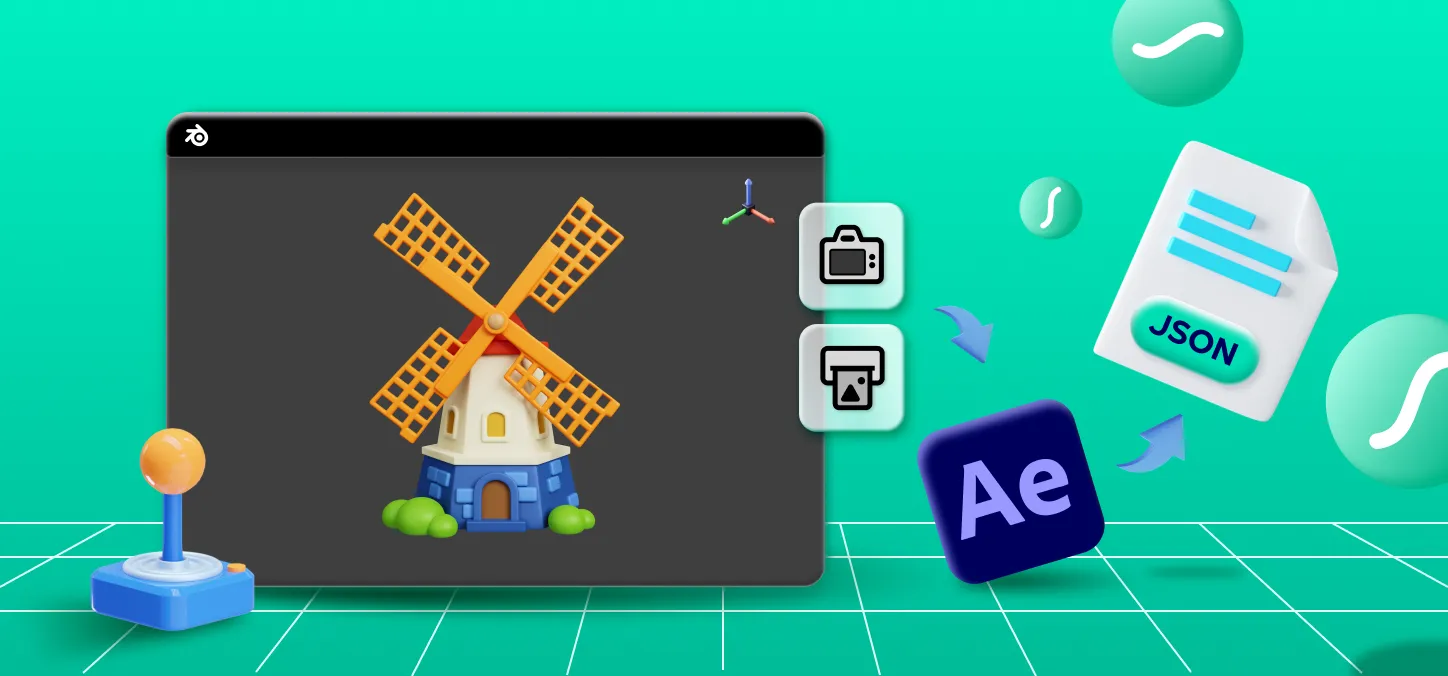
When you stumble upon a design asset you’re excited about, sometimes it is missing a little magic - in this case, we’ve come across some cool 3D illustrations that we wished were Lottie animations instead.
Well, sometimes, you really can win it all! Turning a 3D illustration into a Lottie animation is a lot easier than you think. So we’ve created a quick and easy tutorial for you to follow along.
Watch the video: How to turn 3D illustrations into Lottie animations
If you would like to follow along without having to read, check out the video tutorial below that details how you can turn 3D illustrations into Lottie animations.
You could also watch the video and use this article to refer to certain parts you might have missed out or are confused about - whichever way you prefer to learn!
For this tutorial, we will be animating a windmill design asset from IconScout. If you would like to practice with the exact same design asset, you can download it from IconScout.
Step 1: Start by navigating to the animation view in Blender
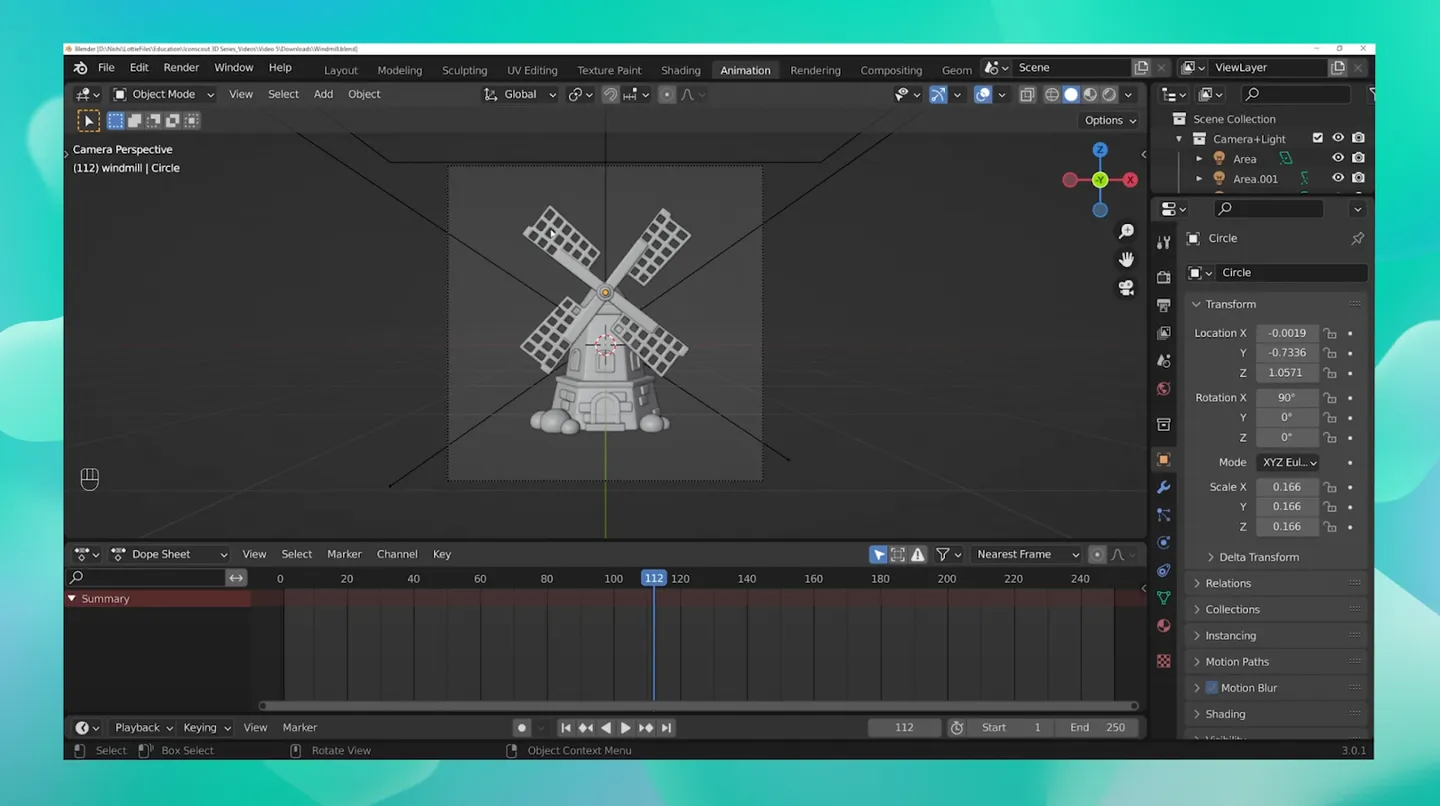
1) Open the animation in Blender. We will be animating the blades of the windmill to rotate.
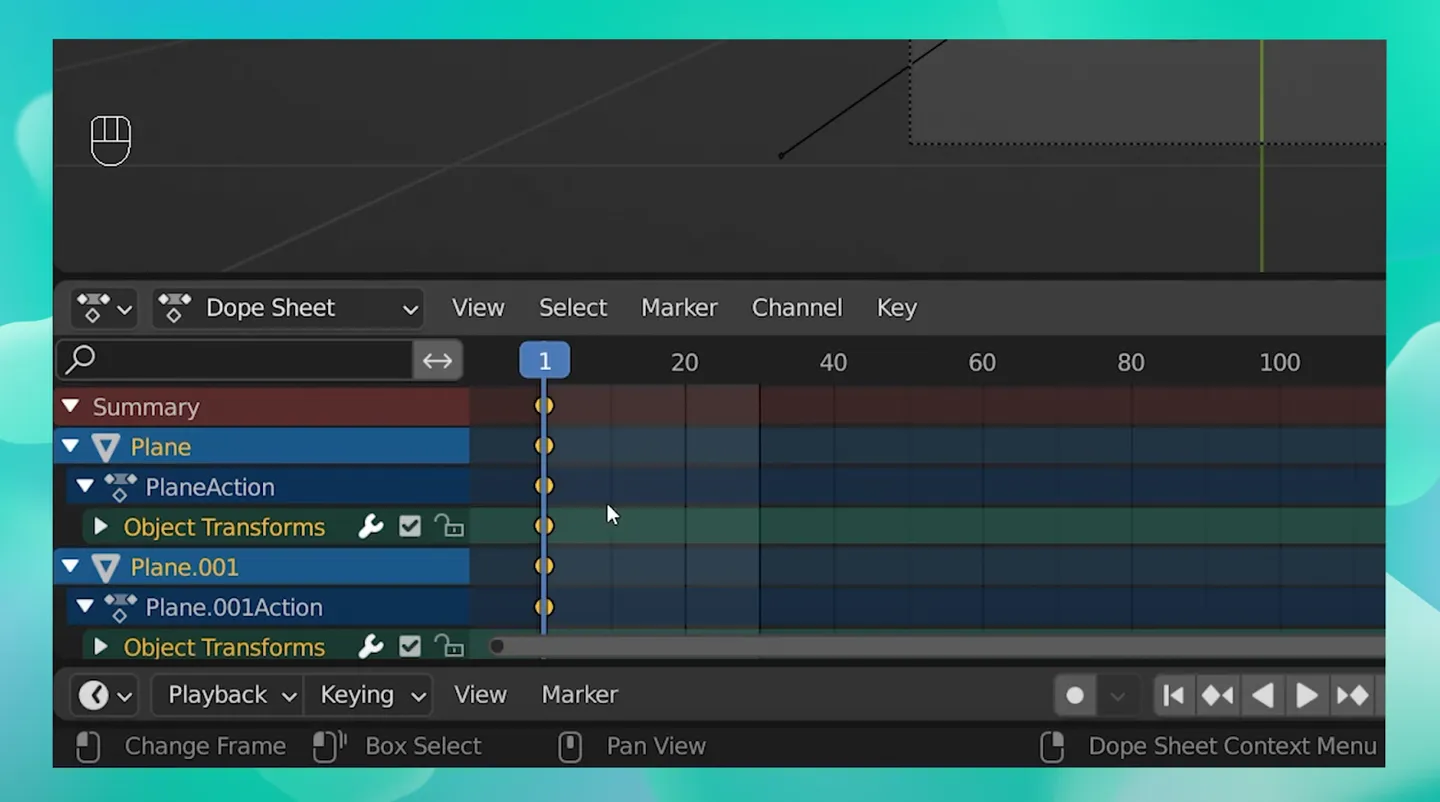
2) Navigate to the animation view, where you will see a timeline. You can remove the view on the left-hand side by right-clicking and selecting Join Areas. You can now collapse the view you do not want to see.
Step 2: Animate the windmill blades
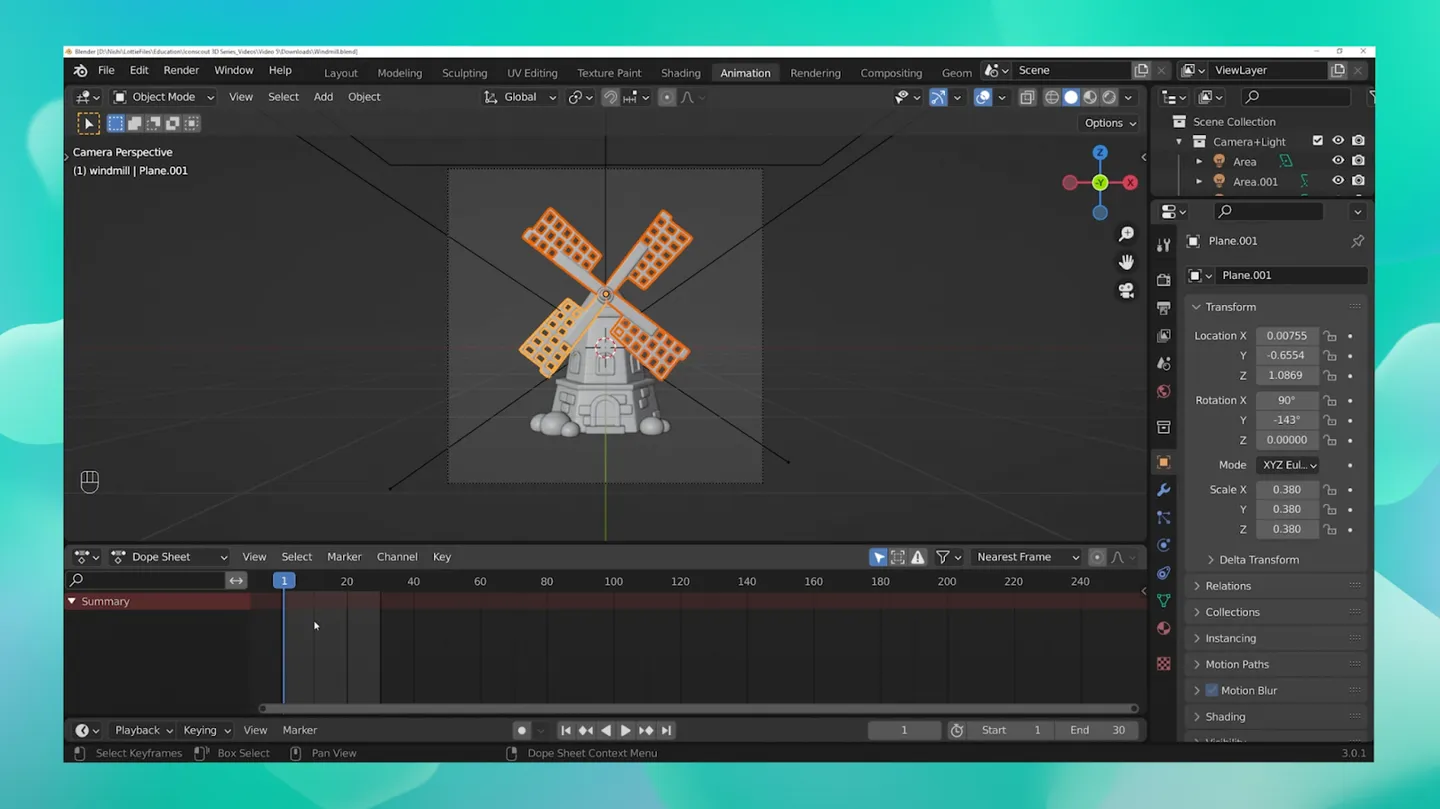
1) Select each windmill blade by pressing down Shift on your keyboard.
2) Click the Jump to Endpoint arrow to start working on the first frame.
3) At the End section, enter the amount of frames you want your animation to play for. For this tutorial, we are choosing 30 frames.
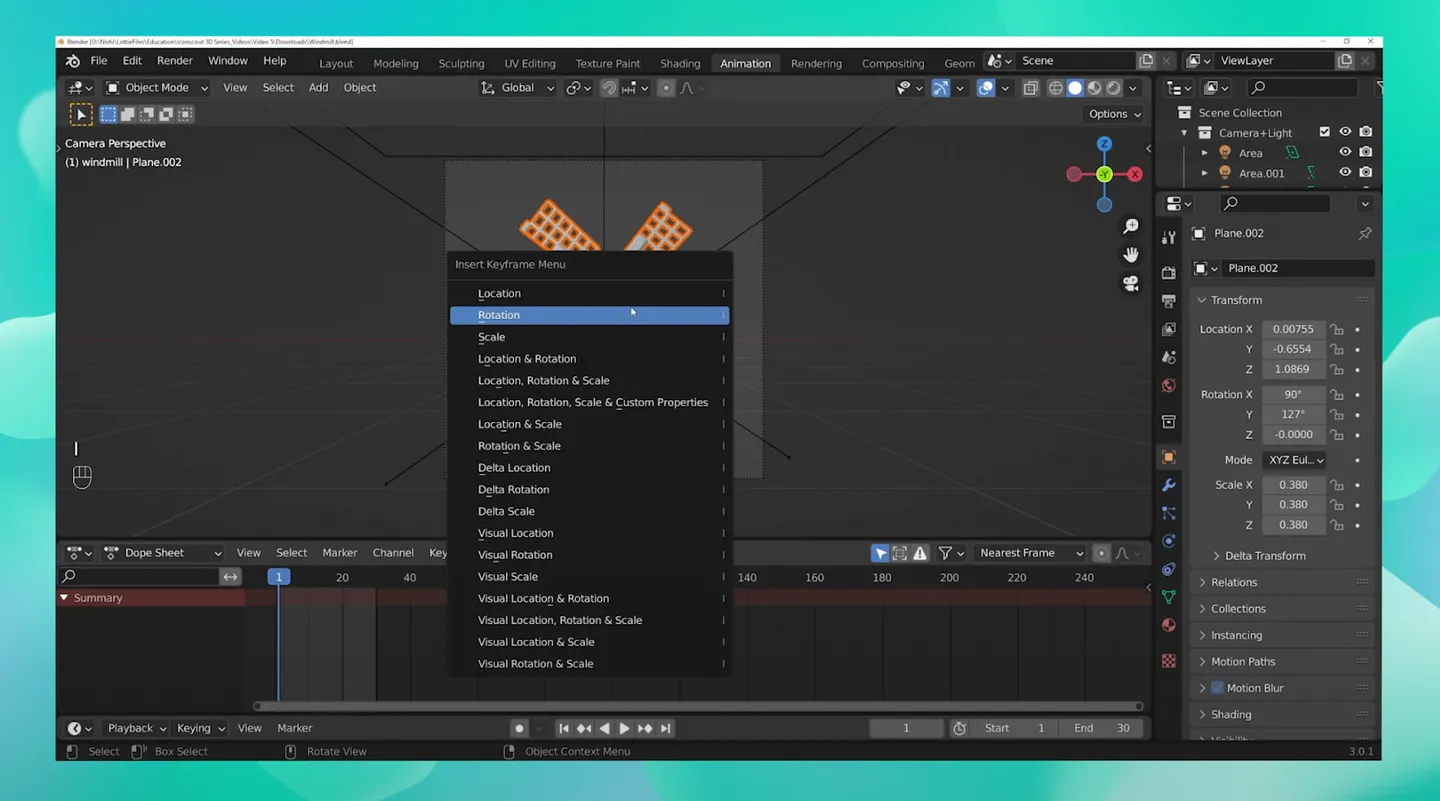
4) Select all the blades of your windmill and hit the letter I on your keyboard. As soon as you do that, Insert Keyframe Menu should appear. You can choose the pattern you intend to change.
In this case, we want the blades to rotate, so we will choose Rotate. If, for example, you are animating a ball that is spinning and bouncing, you would choose Location & Rotation.
5) As soon as we chose Rotate, we locked the current position of our blade on Keyframe 1.
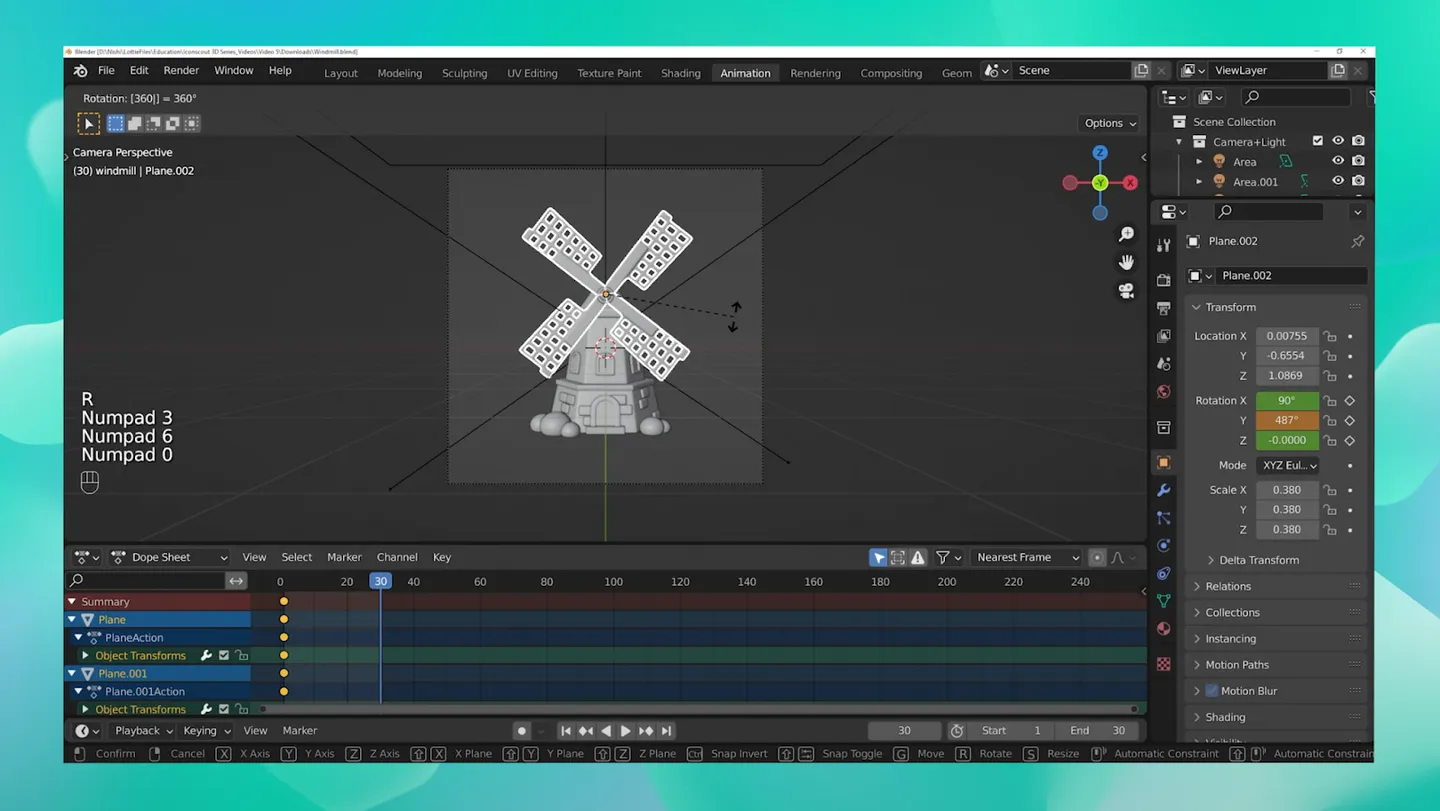
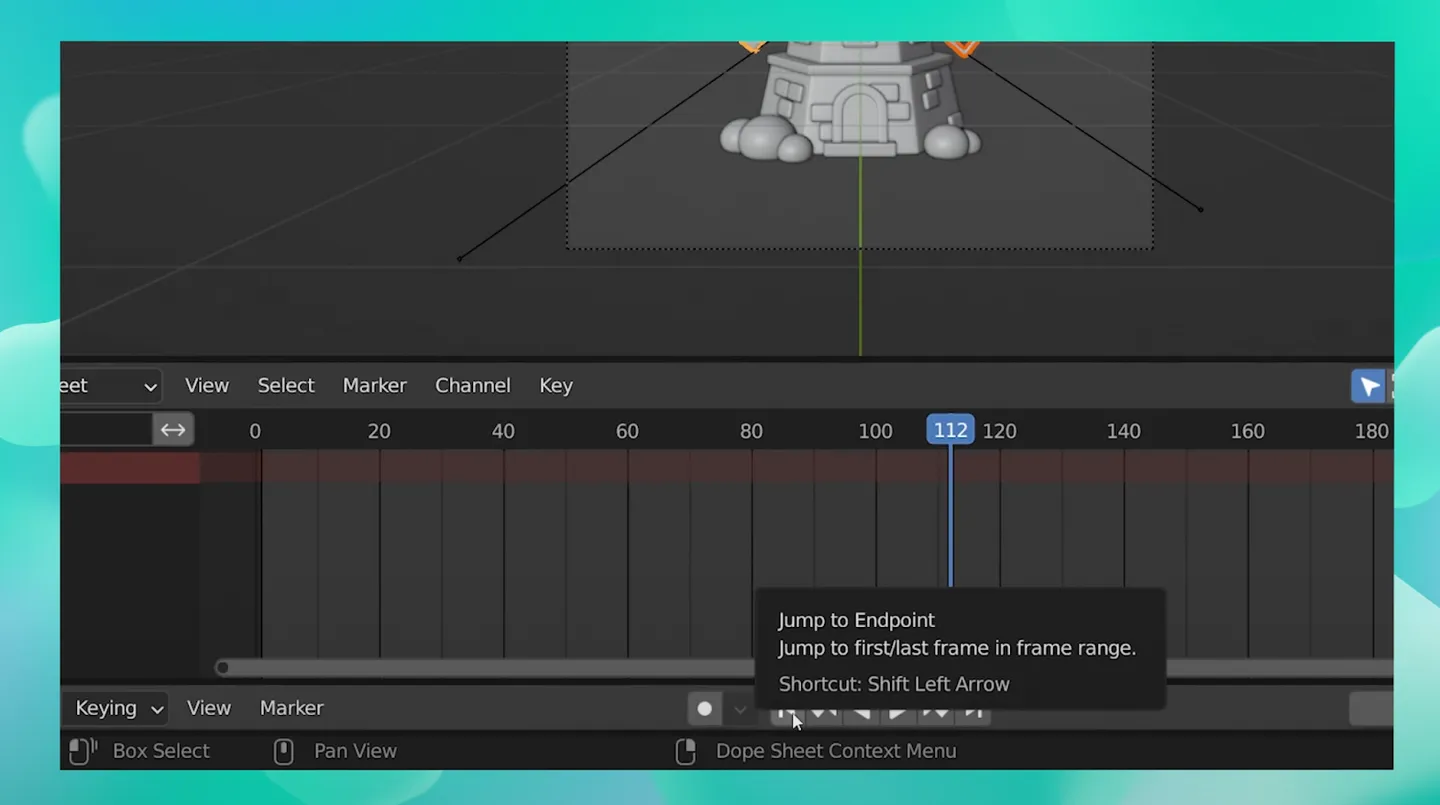
6) Now, we need to check our blade rotation and confirm its position on the last frame. So, click on the last frame (Frame 30) and hit R on your keyboard, followed by how many degrees you want it to rotate. For our windmill, we want it to have a 360-degree rotation, so we will press the numbers 3, 6, and 0 on the keyboard.
7) Once you are happy with the final position, hit I on your keyboard and click Rotate again. Now, you’ll see another keyframe has been added on the last frame.
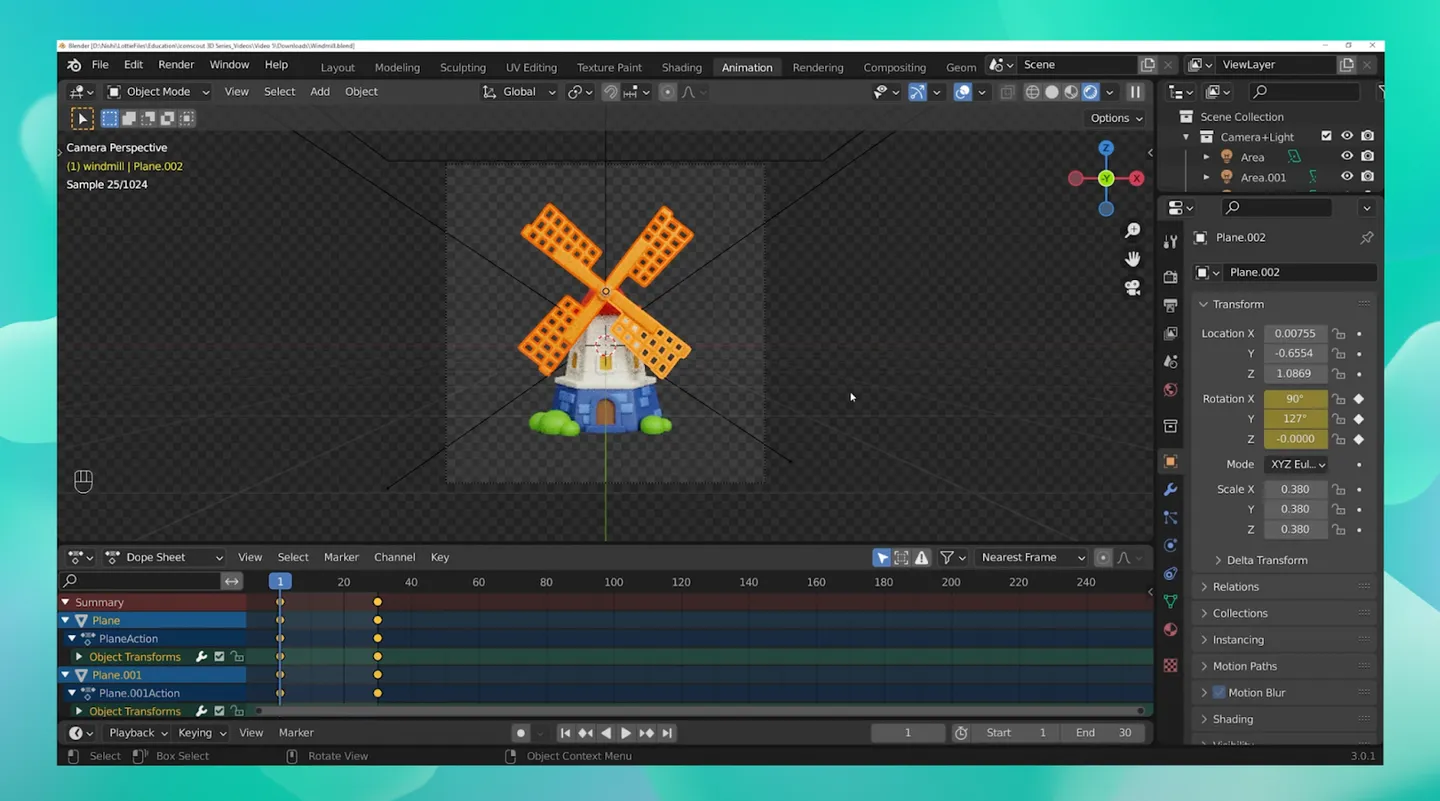
8) Now play your animation to preview. It should be animating now!
Step 3: Export the render as an image sequence
1) Change your view to a render view.
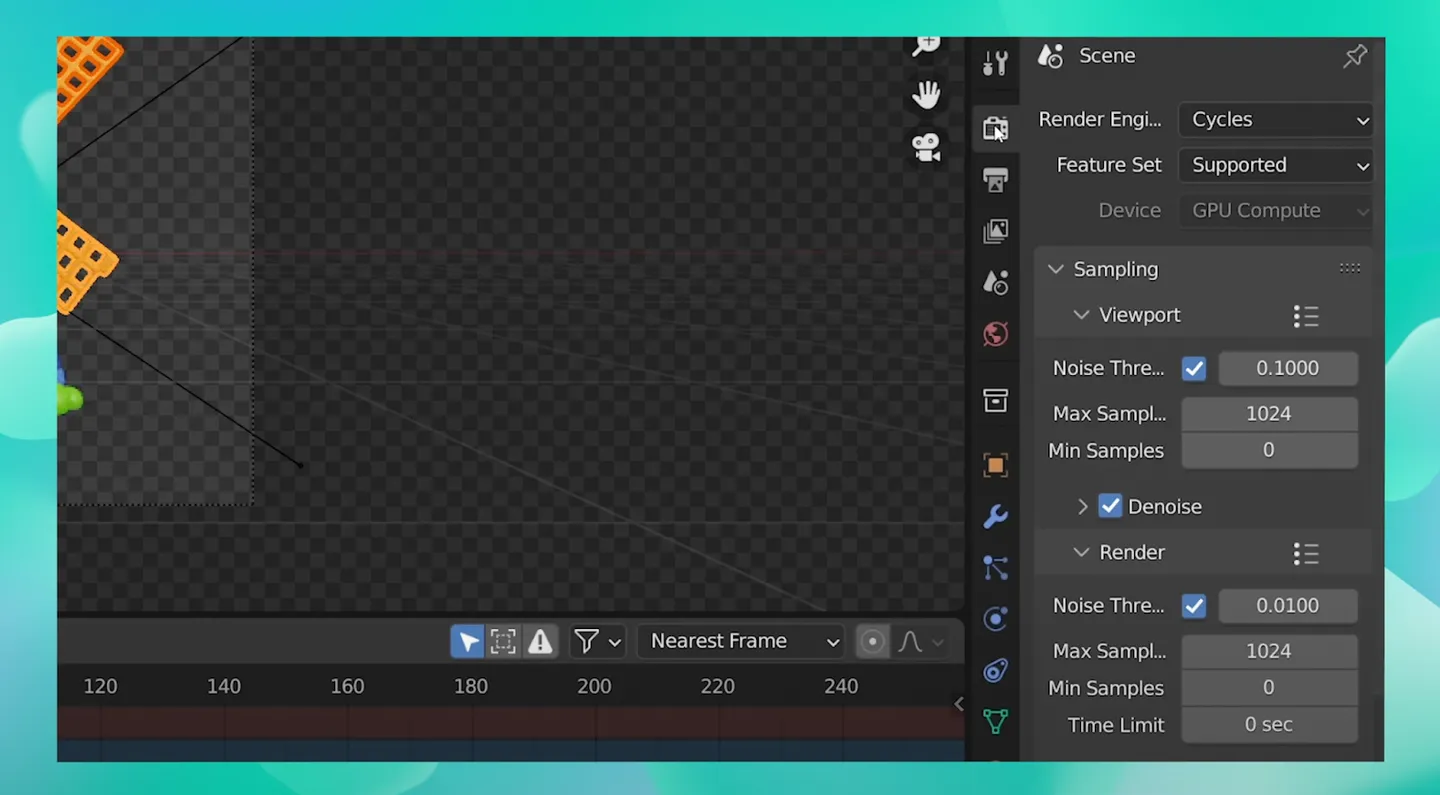
2) To convert this into a Lottie animation, we will need to export this as a PNG sequence. Navigate to your render settings and enter a value for your Max Samples. Remember, the larger the value, the more time it will take to render.

3) Go to the output settings. Specify a path or choose a folder where you would like to save these images. The frames have been set at Frame Start 1 to End 30.
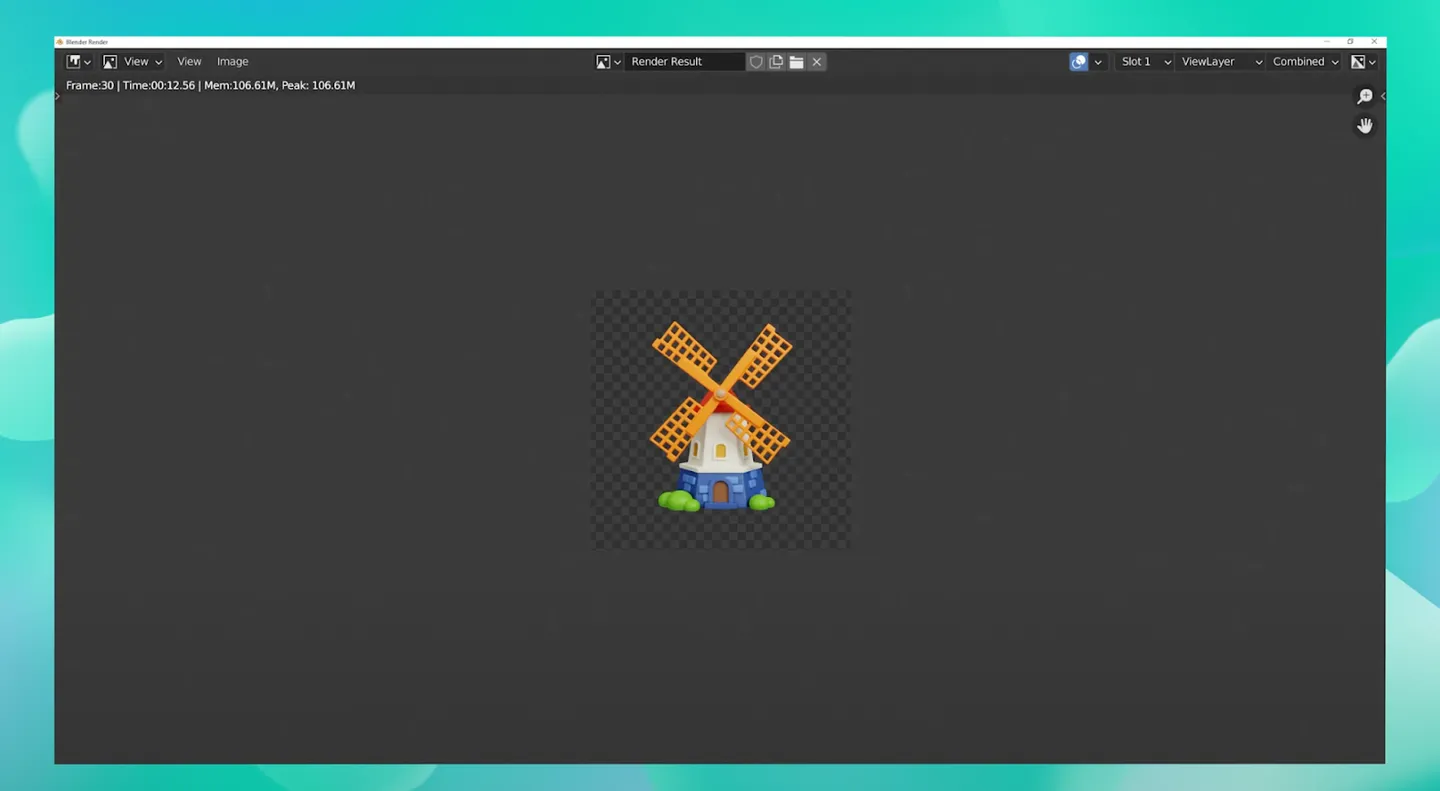
4) Once the settings are all set, start rendering the animation. Once the render is completed, the PNGs will be exported into your folder.
Step 4: Create a new composition in Adobe After Effects
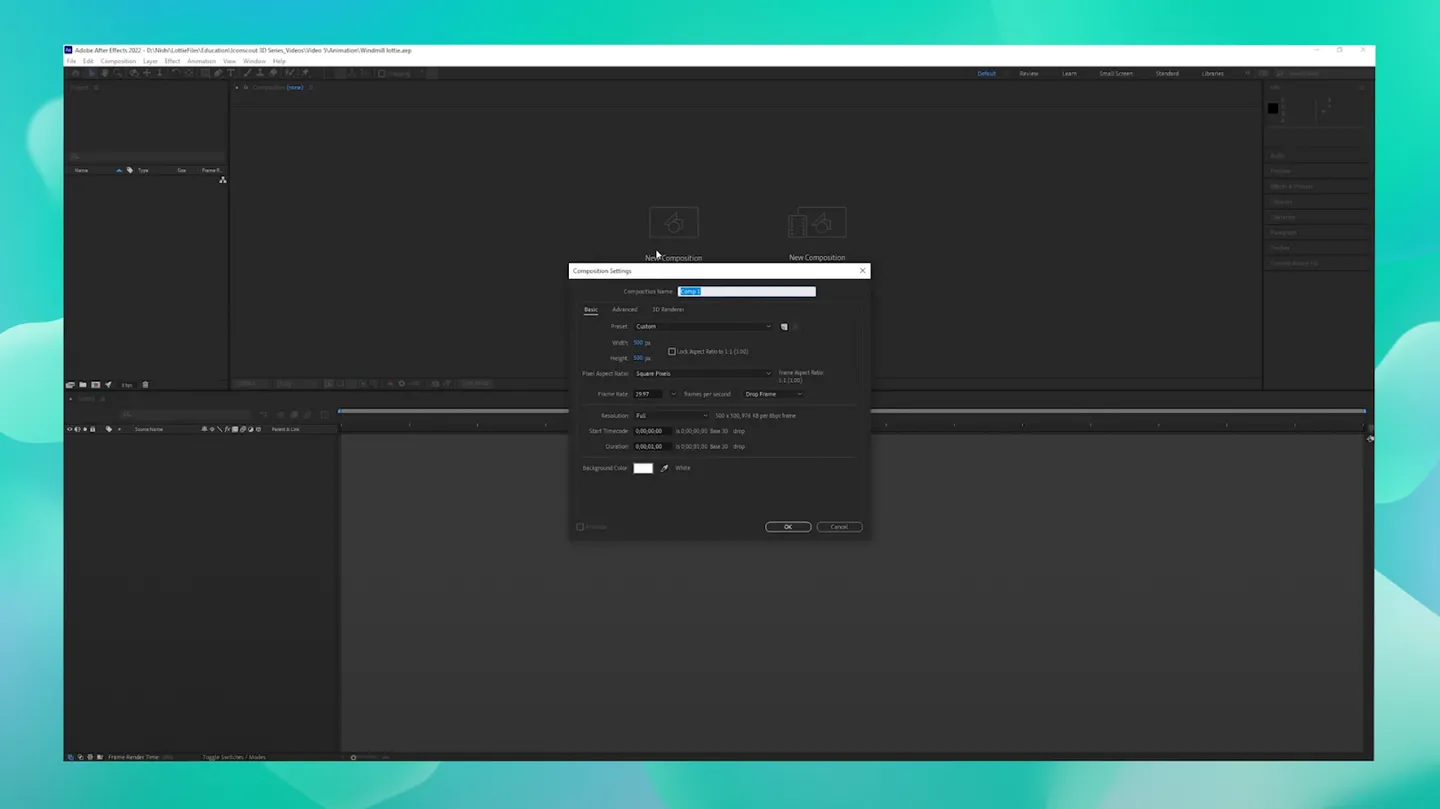
1) To export it as a Lottie animation, open Adobe After Effects. Click on New Composition and specify the dimensions of the composition. Don’t forget to add in the duration of your animation.
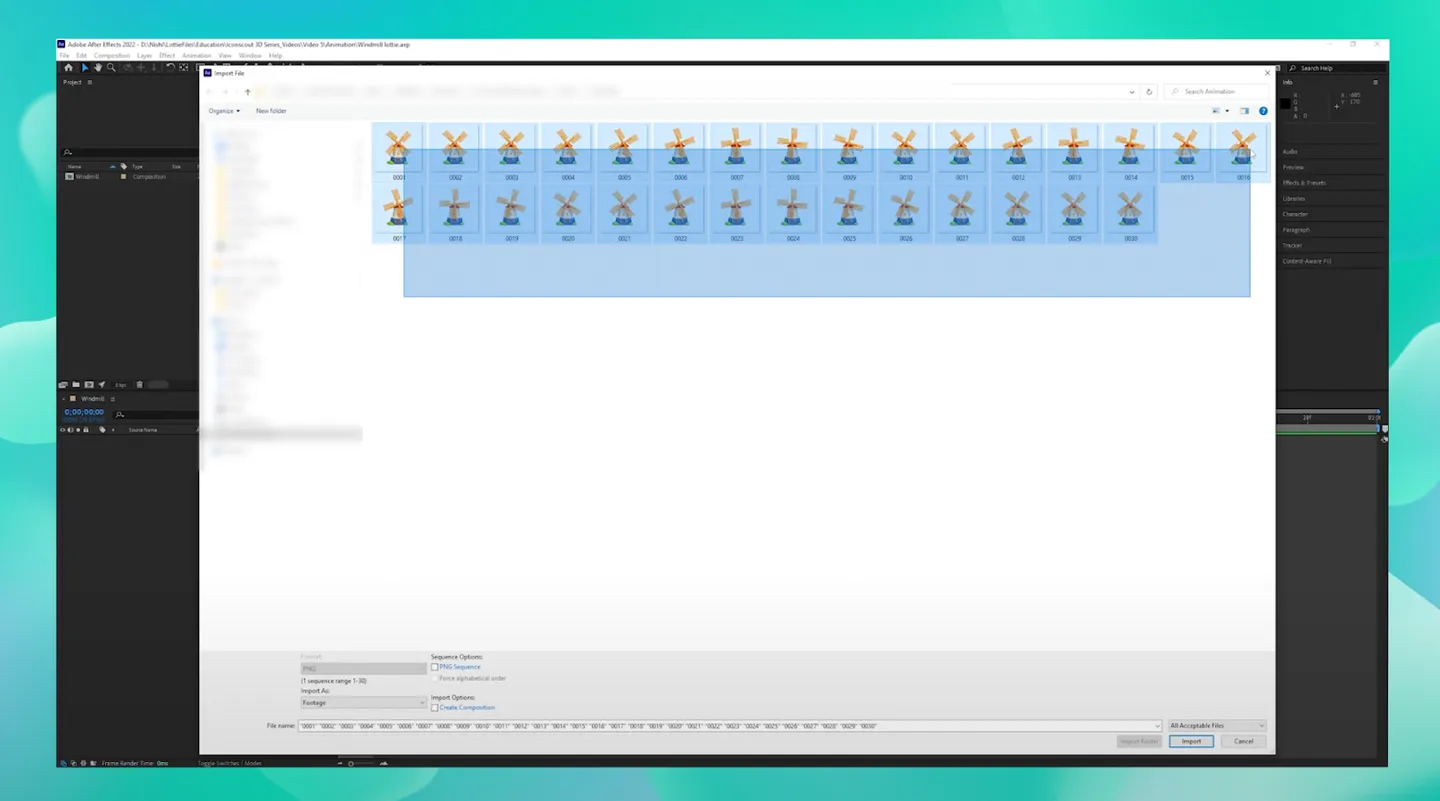
2) Click on File and import all the images we have rendered out. Make sure the PNG Sequence checkbox is unmarked.
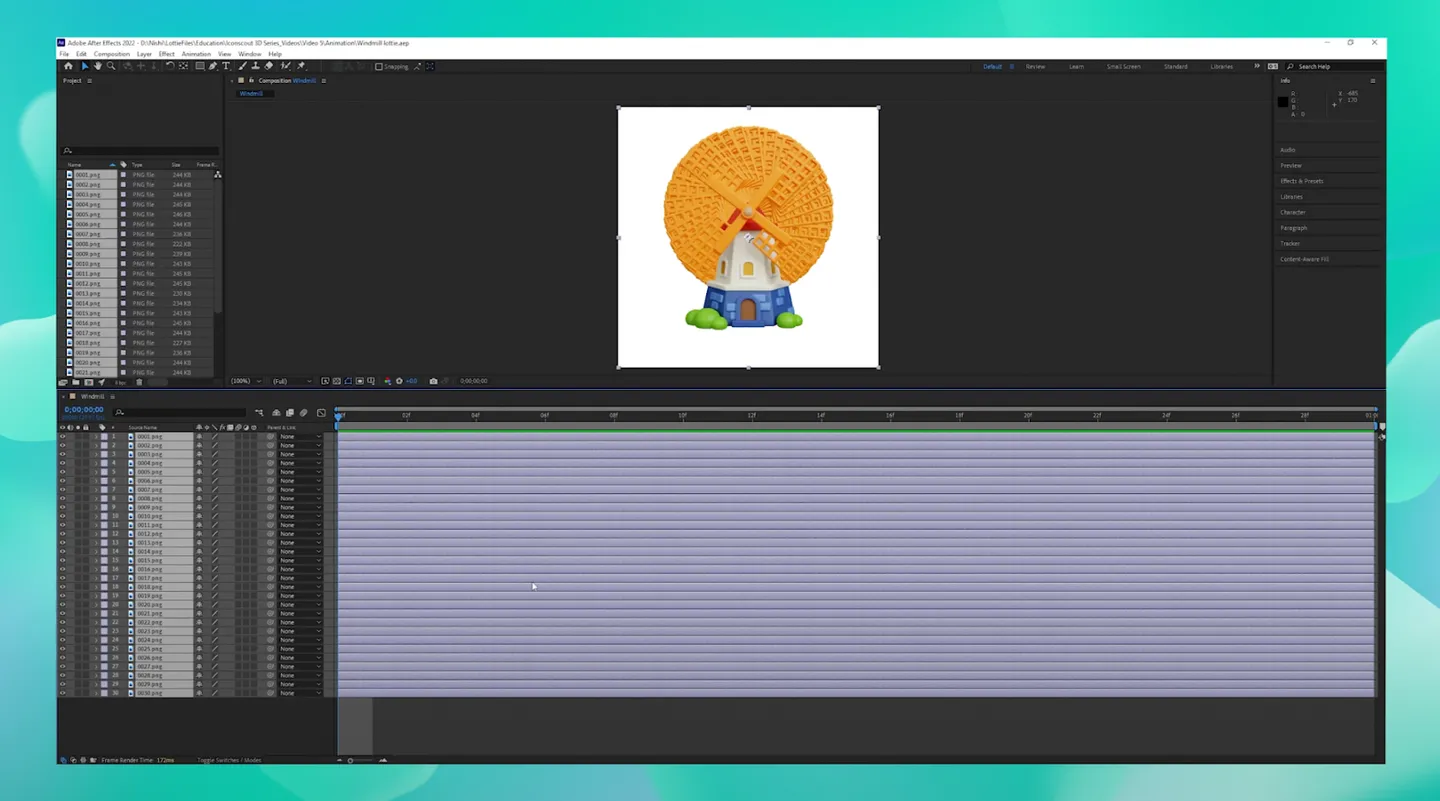
3) All images will appear on the left-hand side. Drag all of them onto the timeline and reduce it down to one frame.
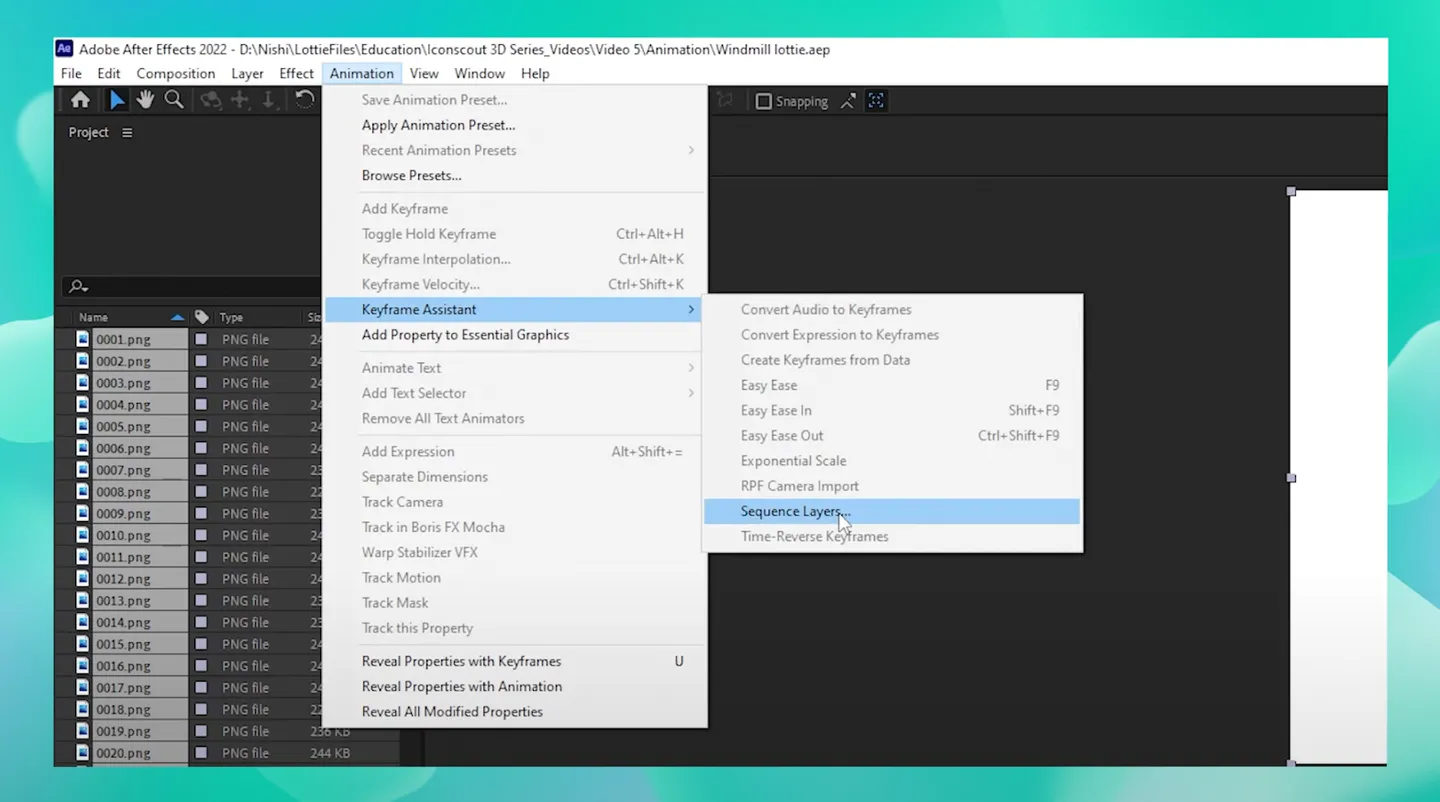
4) Head to Animation and go to Keyframe Assistant. Choose Sequence Layers. Make sure the Overlap checkbox is left unmarked.
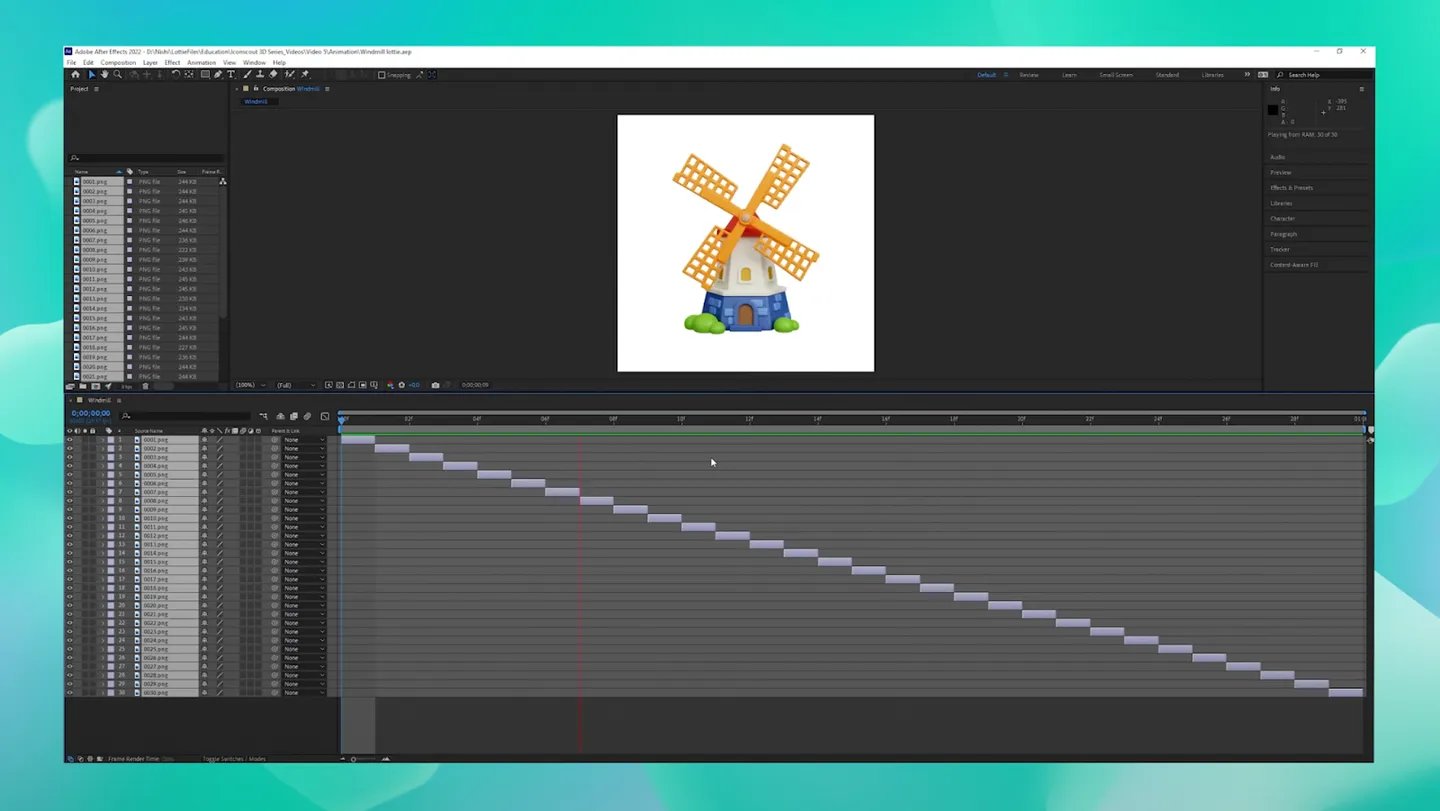
5) You can now see that the windmill is perfectly animated. Now, all that’s left is to export it as a Lottie animation!
Step 5: Export as a Lottie animation
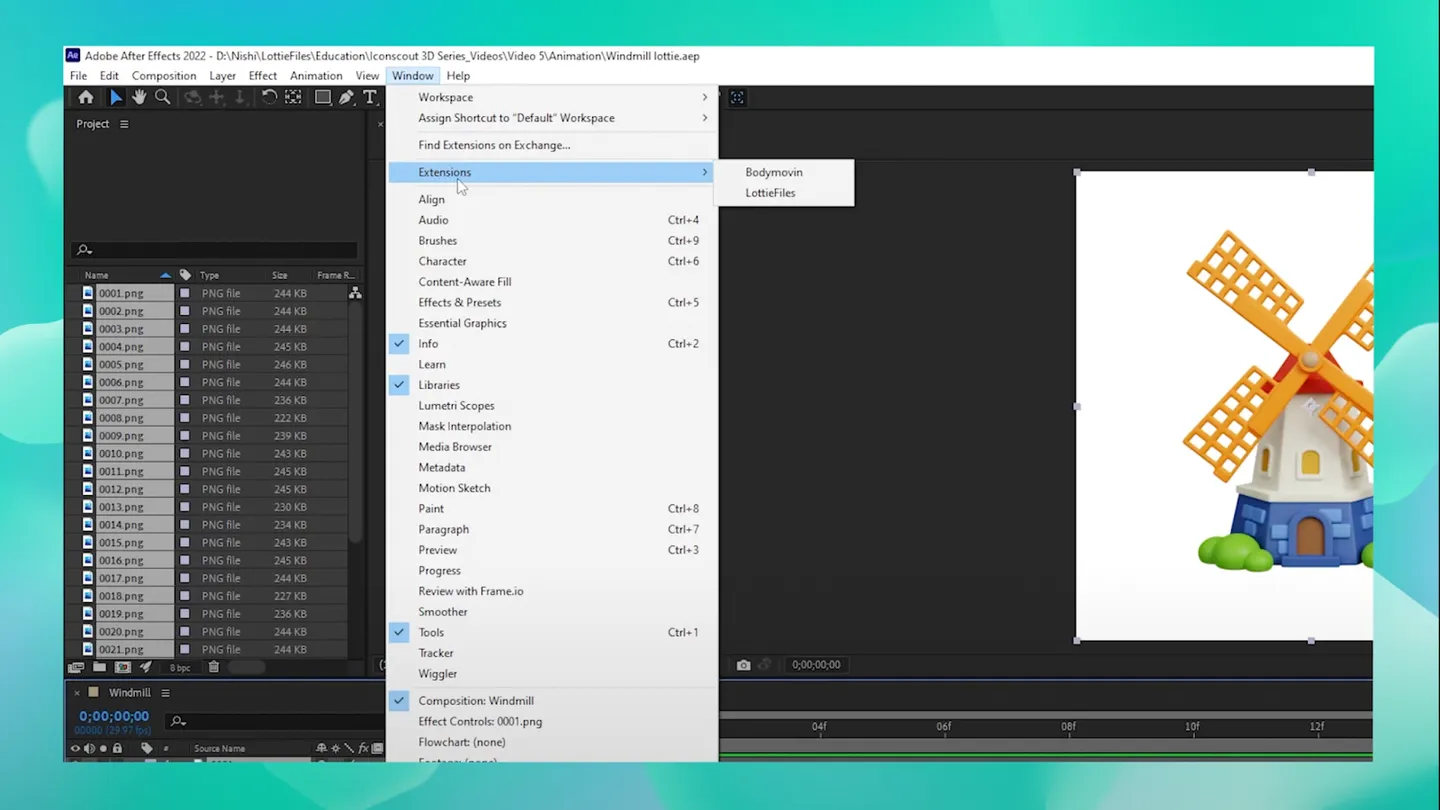
1) To turn it into a Lottie animation, you will need to use the Bodymovin extension. Click on Window and head to Extensions. Click on Bodymovin.

2) You will see the Windmill composition listed in the Bodymovin plugin. Click on Settings.

3) Go to the Assets tab and select Include in JSON - this makes sure all your rasterized images will be embedded into the JSON. Leave the rest as it is, and click Save.
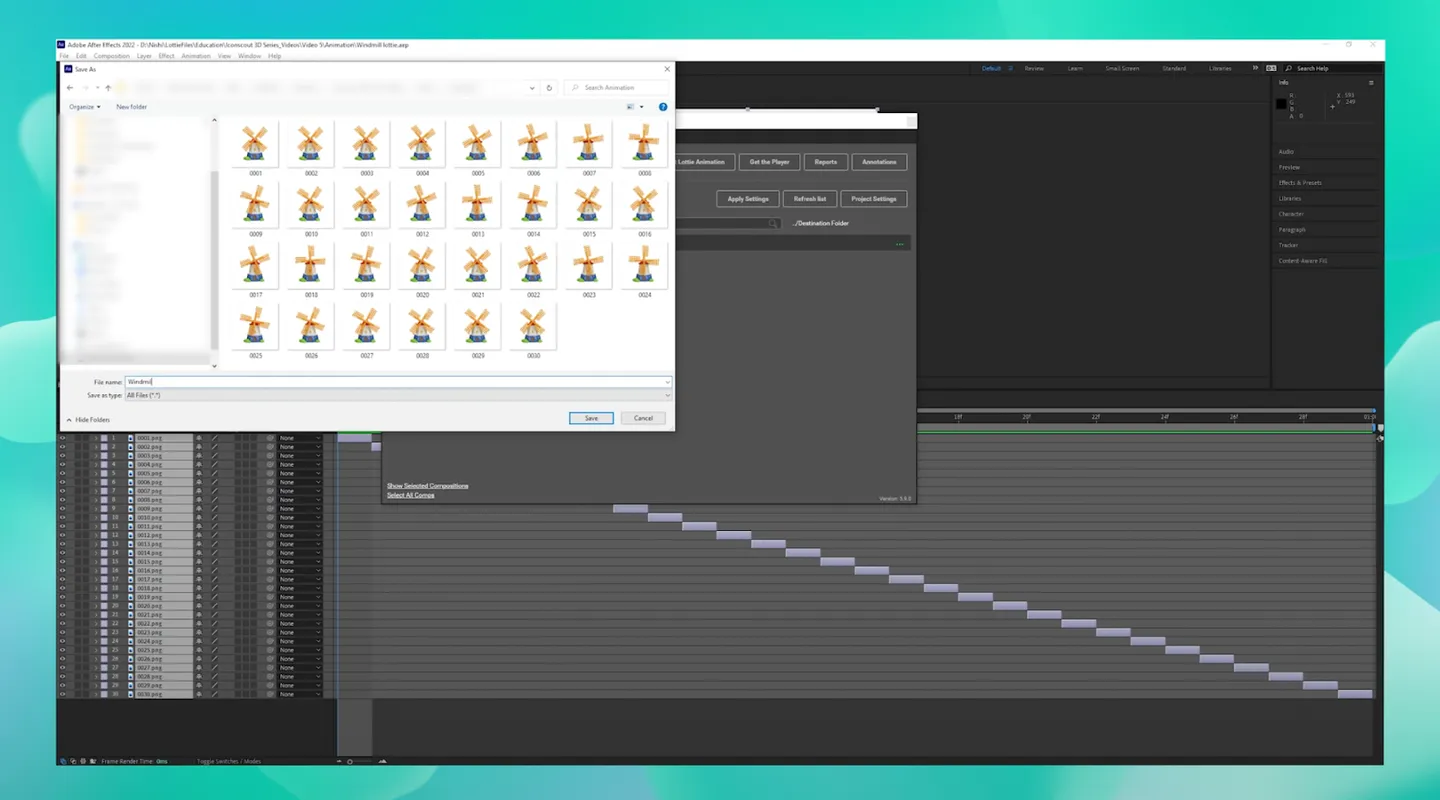
4) Choose a folder where you would like to save your JSON file.
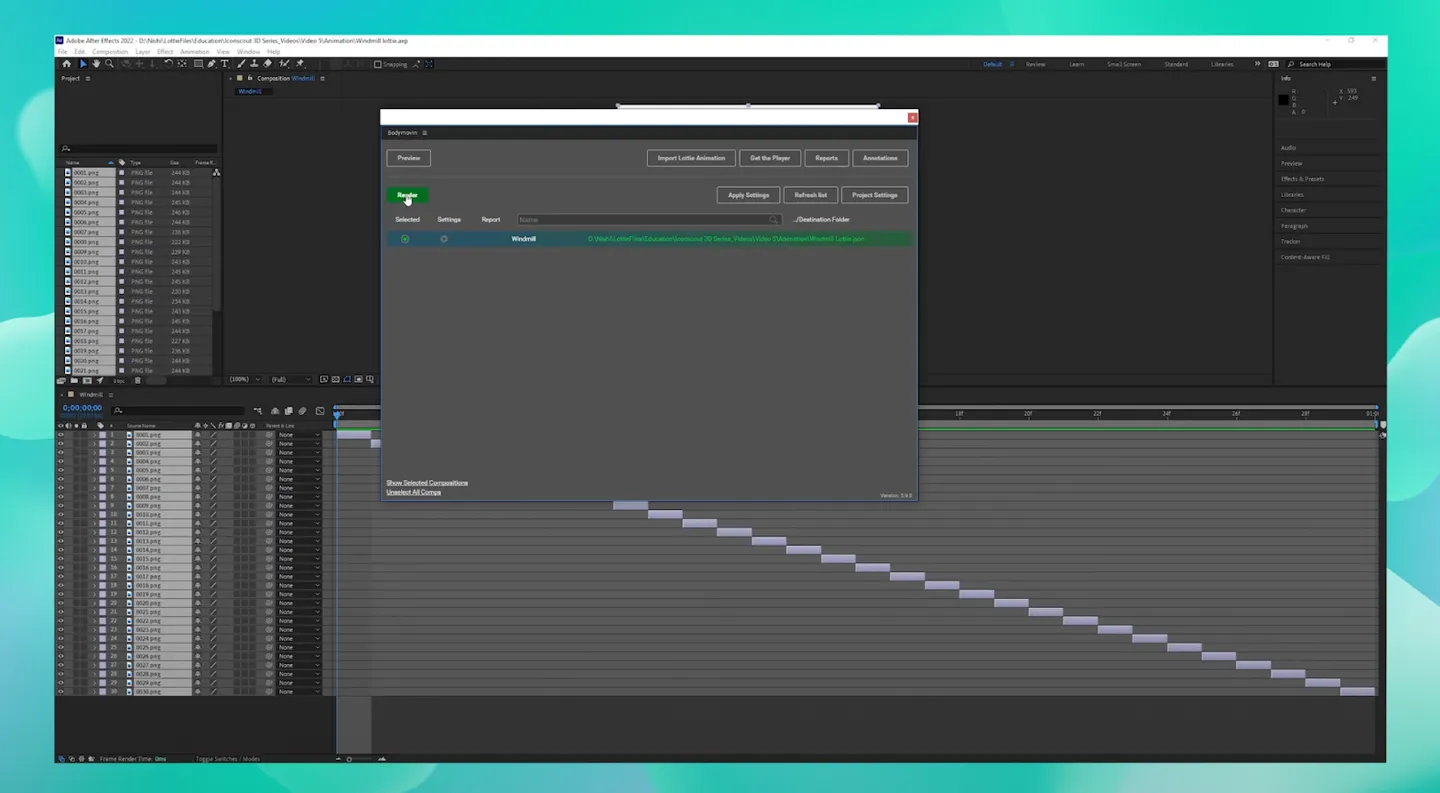
5) Choose the JSON composition that we just saved, and click Render.
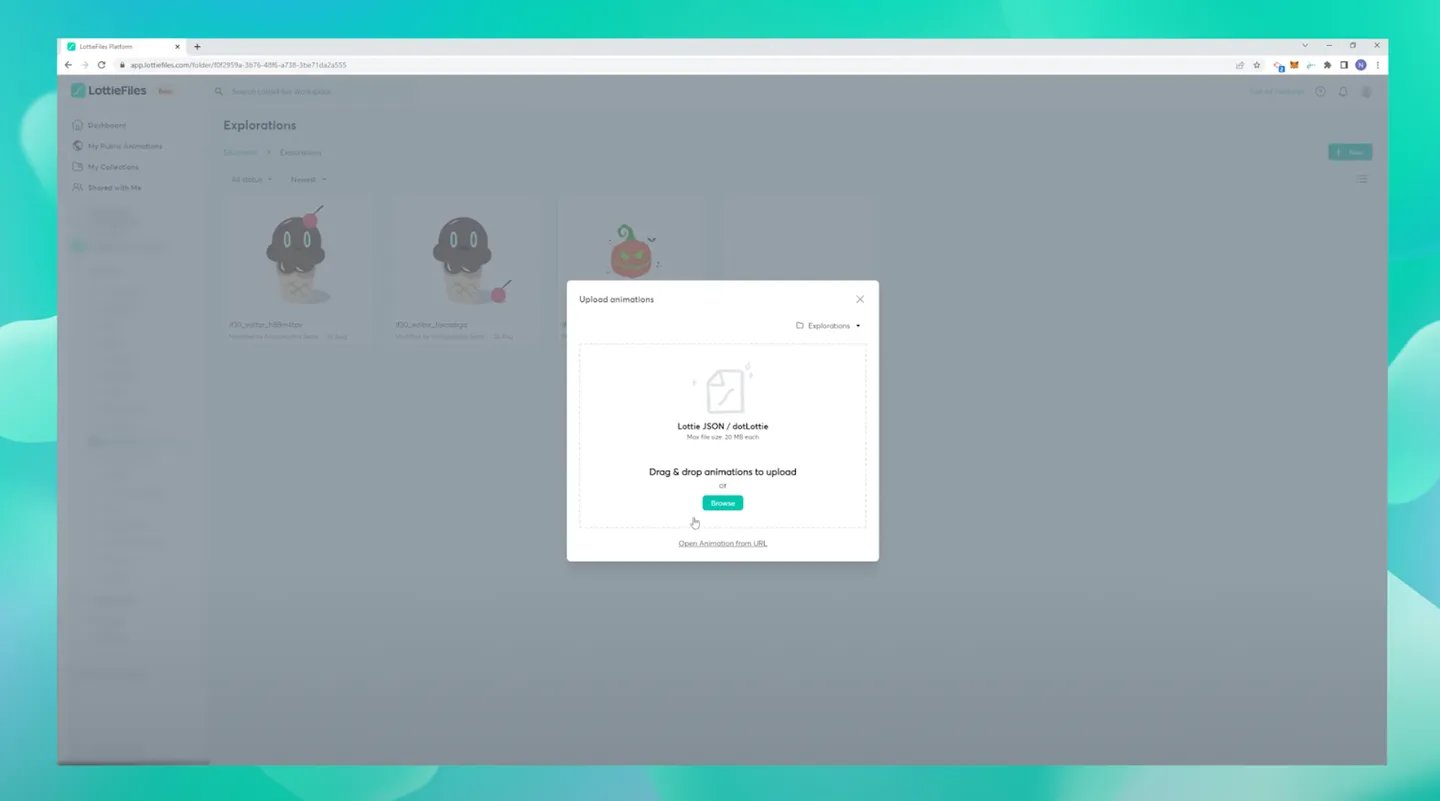
6) Head to the LottieFiles platform and import the JSON file we just exported.
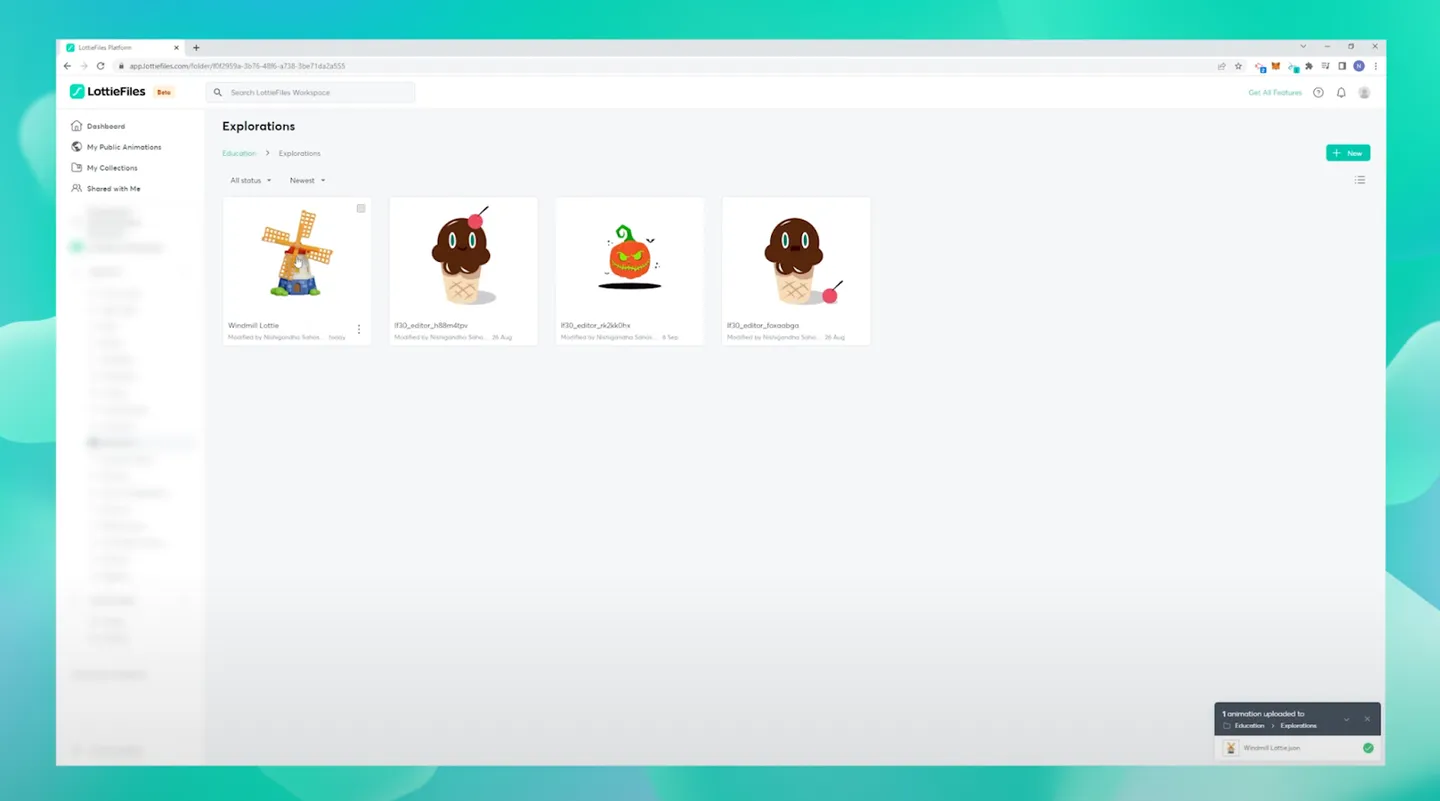
7) You should see the Lottie animation on the platform once done!
Start turning your 3D illustrations into motion magic
How easy was that? Now, you can turn any awesome 3D illustrations you find into a Lottie animation.
Lottie animations are much smaller than GIFs, very lightweight, and super scalable. You can even customize Lottie animations with the Lottie Editor, which is a web-based editor where you can edit, tweak, and personalize it. Plus, if you need it in a smaller size, you can optimize it by reducing the Lottie animation instantly with the Lottie optimization tool at lottiefiles.com/features/optimize-lottie!
This way, you no longer have to limit yourself. Just browse through our library of 3D illustrations assets and create your very own Lottie animations!
Share on


Related Blogs
Access the world's largest Design Ecosystem: Assets, Integrations, and Motion.